


Standard di configurazione degli scooter Arwibon: cosa ci aspettiamo prima del primo utilizzo.
Acquistare un nuovo scooter elettrico è entusiasmante, ma la prima corsa non deve mai essere affrettata. Non importa quanto uno scooter sia ben progettato o testato in fabbrica, spedizione, movimentazione e condizioni di stoccaggio introducono variabili che devono essere controllate prima di guidare.
Per questo motivo Arwibon ha chiari standard di configurazione dello scooter. Che tu abbia acquistato un GT08 o un altro modello, ci aspettiamo che ogni guidatore completi un setup di base dello scooter elettrico prima della prima corsa.
Questa guida spiega perché i controlli iniziali sono obbligatori, illustra un processo di configurazione in quattro fasi, evidenzia errori comuni dei principianti e chiarisce quando è necessario contattare l'assistenza post-vendita. Include anche un consiglio per un checklist stampabile per il nuovo scooter che puoi conservare per riferimento futuro.
Perché ogni nuovo scooter Arwibon deve essere controllato dopo la consegna

Molti guidatori presumono che un nuovo scooter sia “pronto per la guida” appena tolto dalla scatola. In realtà, il trasporto introduce fattori che nessun test di fabbrica può controllare completamente.
Variabili di spedizione da comprendere
Durante la spedizione, gli scooter possono subire:
-
Vibrazioni su lunghe distanze
-
Urti improvvisi o cadute
-
Variazioni di temperatura
-
Variazioni della pressione dei pneumatici dovute all'altitudine
Anche quando l'imballaggio è intatto, possono verificarsi piccoli spostamenti. Un bullone perfettamente serrato in fabbrica può allentarsi leggermente durante il trasporto.
l'ispezione post-consegna è un requisito di sicurezza, non un suggerimento.
Perché Arwibon enfatizza la responsabilità nella configurazione
Arwibon progetta scooter per adulti e per un uso reale. Parte della proprietà responsabile consiste nel garantire che:
-
Le connessioni meccaniche siano sicure
-
I sistemi frenanti funzionino correttamente
-
I sistemi elettrici siano integri
Saltare i controlli di configurazione aumenta il rischio di incidenti e può annullare le richieste di garanzia se i danni sono causati da un uso improprio.
Il processo ufficiale di prima configurazione in quattro fasi

Prima della tua prima corsa, completa i seguenti quattro passaggi in ordine. Questo processo si applica a tutti gli scooter Arwibon e si allinea alle indicazioni presenti nel manuale dello scooter elettrico GT08 e in altri manuali di modello.
Fase 1: Controllo bulloni e struttura (serraggio)
Controlla tutti i bulloni e i fissaggi visibili, in particolare:
-
Morsetti del manubrio
-
Stelo e meccanismo di piegatura
-
Assi delle ruote
-
Pinze dei freni
Usa strumenti appropriati e assicurati che i bulloni siano stretti, senza esagerare. Stringere troppo può danneggiare filetti o componenti.
Perché è importante:
Bulloni allentati sono una delle cause più comuni di problemi precoci e instabilità durante la guida.
Fase 2: Verifica della pressione dei pneumatici
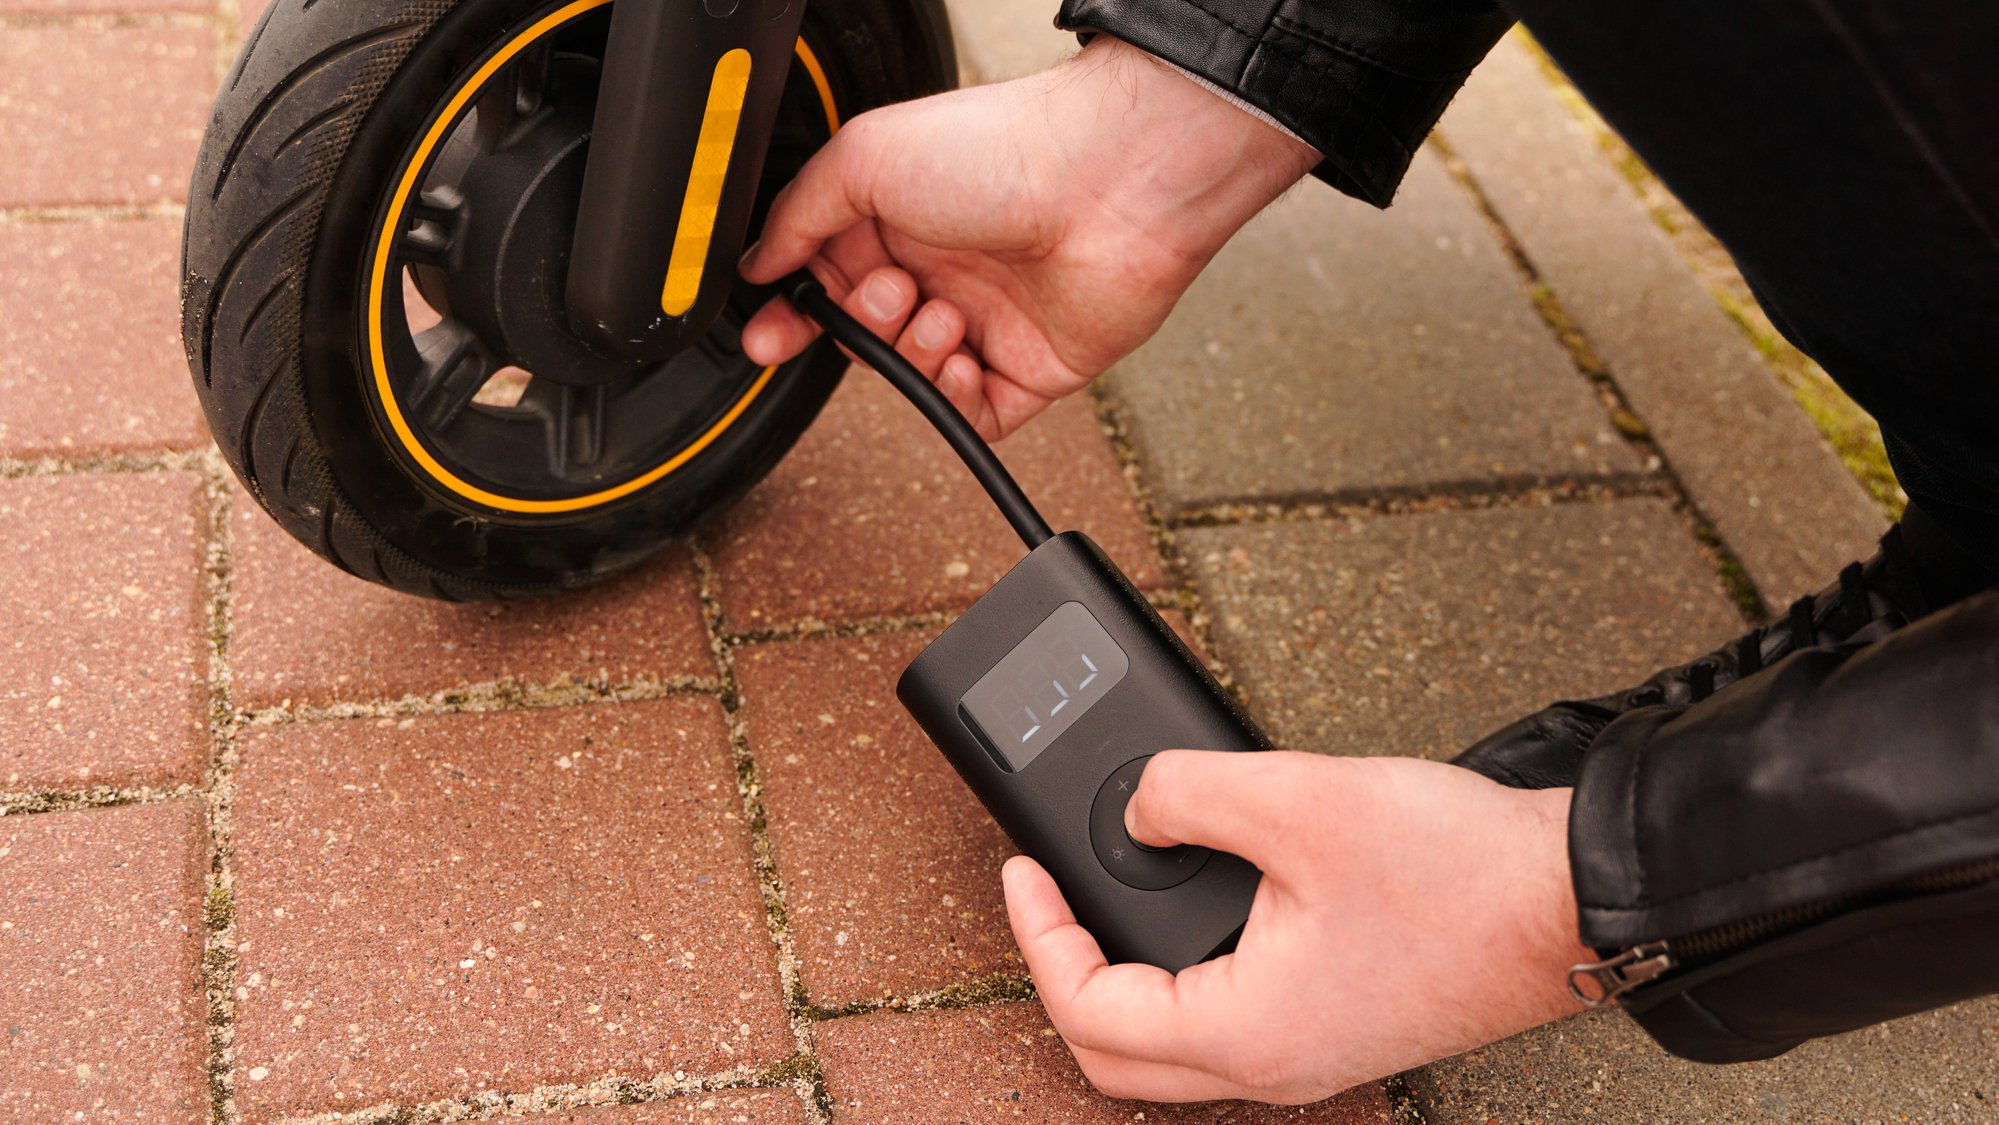
Non fare mai affidamento solo sull'ispezione visiva. Usa un manometro per controllare:
-
Pressione pneumatico anteriore
-
Pressione pneumatico posteriore
I pneumatici possono arrivare sotto-gonfiati a causa delle condizioni di spedizione.
Pressione corretta dei pneumatici:
-
Migliora la stabilità
-
Riduce l'oscillazione
-
Protegge cerchi e pneumatici
-
Migliora frenata e autonomia
La pressione errata dei pneumatici è una delle principali cause di prime impressioni negative e incidenti evitabili.
Fase 3: Controllo del sistema frenante

Prima di guidare, prova i freni a scooter fermo:
-
Stringi saldamente le leve dei freni
-
Assicurati che le ruote si fermino dolcemente
-
Verifica che i freni non sfregano eccessivamente
Poi esegui un test di frenata a bassa velocità in un'area libera.
Non guidare mai ad alta velocità finché la frenata non è confermata.
Fase 4: Controllo elettrico e dei comandi

Accendi lo scooter e controlla:
-
Funzionalità del display
-
Risposta dell'acceleratore (test lento e controllato)
-
Fari e luci dei freni
-
Messaggi di errore (se presenti)
Assicurati che tutti i cavi siano correttamente collegati e non danneggiati.
Questa fase conferma che nessun connettore si è allentato durante il trasporto.
Errori comuni nella configurazione dei principianti (e perché sono rischiosi)
Molti problemi iniziali derivano dal saltare o affrettare il setup.
Errore 1: Guidare senza serrare i bulloni
Anche bulloni leggermente allentati possono:
-
Causare instabilità nello sterzo
-
Accelerare l'usura
-
Portare a guasti improvvisi
Errore 2: Ignorare la pressione dei pneumatici
Pneumatici sotto-gonfiati:
-
Aumentano la resistenza al rotolamento
-
Riduzione dell'autonomia
-
Aumentano il rischio di forature da pizzicamento
-
Riduzione del controllo durante la frenata
Errore 3: Testare la velocità prima dei freni
Scooter potenti come il GT08 rispondono rapidamente. Testare l'accelerazione prima dei freni è un errore comune—e pericoloso.
Errore 4: Presumere che “Assemblato in fabbrica” significhi “Configurazione finale”
L'assemblaggio in fabbrica non sostituisce l'ispezione post-consegna. La configurazione finale fa parte della proprietà responsabile.
Quando contattare l'assistenza post-vendita Arwibon

Interrompi la configurazione e contatta l'assistenza se noti:
-
Danni strutturali visibili
-
Crepe nel telaio o nelle saldature
-
Sistema frenante che non può essere regolato correttamente
-
Errori elettrici persistenti o malfunzionamenti del display
-
Rumori insoliti dal motore o dalla trasmissione
Non guidare lo scooter se sono presenti problemi legati alla sicurezza. Guidare con un problema può peggiorare i danni e complicare la gestione della garanzia.
Fornire foto chiare o brevi video aiuta l'assistenza a risolvere i problemi più rapidamente.
Perché gli standard di configurazione proteggono sia il guidatore che la garanzia
Gli standard di configurazione di Arwibon esistono per:
-
Proteggere la sicurezza del guidatore
-
Stabilire limiti di responsabilità chiari
-
Prevenire danni evitabili
-
Garantire una valutazione equa della garanzia
Seguire il processo di configurazione dello scooter elettrico dimostra un uso e una cura appropriati, che avvantaggiano sia il guidatore che il marchio.
Checklist stampabile per il nuovo scooter (fortemente consigliata)
Consigliamo di stampare o salvare una semplice checklist per il nuovo scooter che includa:
-
☐ Tutti i bulloni controllati e serrati
-
☐ Pressione dei pneumatici verificata
-
☐ Freni testati a bassa velocità
-
☐ Luci e display controllati
-
☐ Meccanismo di piegatura bloccato saldamente
Conservare questa checklist è utile non solo per la prima configurazione, ma anche per ispezioni periodiche successive.
Considerazioni finali: il setup fa parte della guida sicura
Uno scooter Arwibon è progettato per performare—ma le prestazioni iniziano con la preparazione.
Completare la configurazione corretta prima della prima corsa:
-
Riduce il rischio di incidenti
-
Migliora la qualità della guida
-
Protegge il tuo investimento
-
Costruisce fiducia fin dal primo giorno
Gli standard di configurazione degli scooter Arwibon non riguardano passaggi extra—ma garantiscono che ogni corsa inizi in sicurezza e responsabilità.